Follow Me on Pinterest

Instagram

Polka Dot Rosie

Pages

Showing posts with label Embossing Paste. Show all posts

Wednesday, December 10, 2014

DigiStamps4Joy Challenge 106--Something New

Hi crafty friends!  I hope you're all ready for the holidays! I haven't done any Christmas shopping yet, but that's nothing new. I remember many years ago I worked in a music/electronic/book store and bought every present on Christmas Eve LOL  Hopefully I'll be finished long before that this year! Hopefully.....

Today starts another challenge at DigiStamps4Joy!  The theme for this challenge is "Something New", so there are loads of possibilities with this one! Whether or not you use a DS4J image, you're welcome to join in the fun :)

Something new can mean many things: birthday, the new year, wedding, baby, etc. When I was browsing the images in the store, I thought this one was so cute, so the decision became much easier.
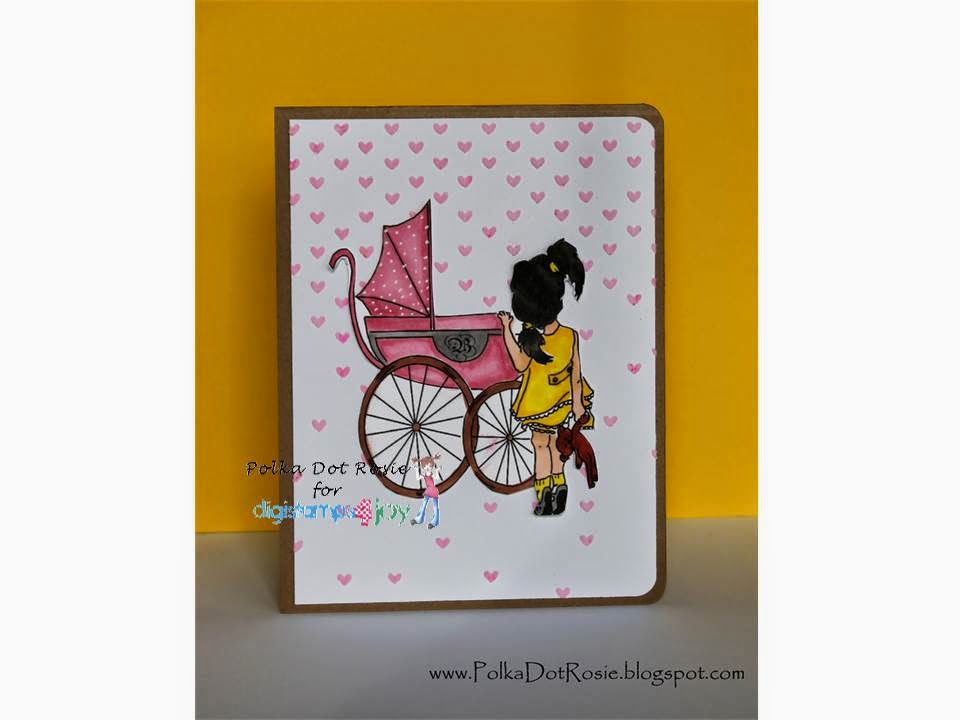


Many months ago, I bought a pack of gelatos but hadn't used them yet because I had (and still have) no idea HOW to. I tried once and failed, so I just kind of left them in a basket untouched all this time.  I wanted to do some stenciling and thought it would be great if I could dye my embossing paste with the gelatos..and it worked!  You can kind of see that there are different shades of pink and that's because there are tiny chunks of the two colors I used. It was tricky to mix and it wasn't perfect, but it worked just fine. Up close it looks like candy cane ice cream :) It's really cool!

I colored the image with Copics, fussy cut it out and centered it on the card base. I should use kraft cardstock more often. It's a nice change from a white card, and it's such a great, neutral color that looks awesome with pink! My wedding colors were brown and pink, so they're one of my favorite combinations :)

Thanks so much for stopping by!  Hope you join us in the challenge!  

Thursday, May 22, 2014

Welcome Baby Boy!

Hello there!  I need to apologize for not posting for a few weeks! We are having some computer trouble so it's taken longer than expected to get a lot of things done! I also apologize about the quality of the photo because I can't access my photo editing software right now :-/

Anyway, my parent's neighbor recently had a baby boy so I made a Welcome Baby card for their sweet littlest addition: 


I have been having a great time with my stencils and thought that hearts would be pretty perfect for this one :)  I used Distress Ink to dye my embossing paste before applying it to the stencil. I've used this technique in the past and it's worked pretty good for me. You can also easily control the shade and color that you want this way. I decided to take a break from the Copics on this card because there just isn't much to color, so I went for another favorite: Prismacolor Colored Pencils! After coloring, I die cut the image and  adhered it with dimensionals.  Super cute! I haven't heard anything yet but I'm hoping the new parents are happy with it :)

List of supplies:
Dremweaver Embossing Paste
Broken China Distress Ink
Antique Linen Distress Ink
Sponges
Welcome Baby Stamp (Inkadinkado)
Prismacolor Pencils in Light Aqua, Light Cerulean Blue and Peach
Spellbinders Romantic Rectangles
Big Kick
Simon Says Stamp Falling Hearts Stencil
Pop dots 

Thanks so much for stopping by! I hope you liked today's card!


Sunday, April 27, 2014

Rays for ME Photo Inspiration Challenge

Hello, hello! I'm popping in today to share another fun card I made for the Mama Elephant Photo Inspiration Challenge.  I love all the challenges, but this one is extra exciting because the winner is on ME's design team for six months!! Their products are wonderfully made and so cute, and winning would be such an honor. Since it is a photo inspiration challenge, we have the following photo to work with: 


 I think it's such a beautiful picture with lots of beautiful colors going on. I was really drawn to how bright the photo was, so I took it more literally and made rays of sunshine:


So, what do you think?? I've never tried a card like this and it was a really cool process.  First, I stenciled the rays on the card using embossing paste that I dyed with ink.  While it was drying, I cut a little hill out of paper and covered it with flocking powder.  In real life, grass is not always perfect, so I made it a little sparse in some areas and fuller in others.  I colored these adorable bunnies with Copic markers and adhered them on top of the hill with dimensional adhesive.  Fun! Different from any card I've done in the past, but I'm really digging how cool it is!  

Here is the list of products that I used:
Neenah Solar White Cardstock
Mama Elephant Honey Bunny Stamp Set
Tim Holtz Rays Stencil
Spiced Marmalade Distress Ink
Squeezed Lemonade Distress Ink
Dreamweaver Embossing Paste
Martha Stewart Flocking Powder in Fennel
Copic Markers (W4, W6, W8)
Tombo Mono Aqua Liquid Glue
Scotch Mounting Tape

Thanks for stopping by!

Friday, March 21, 2014

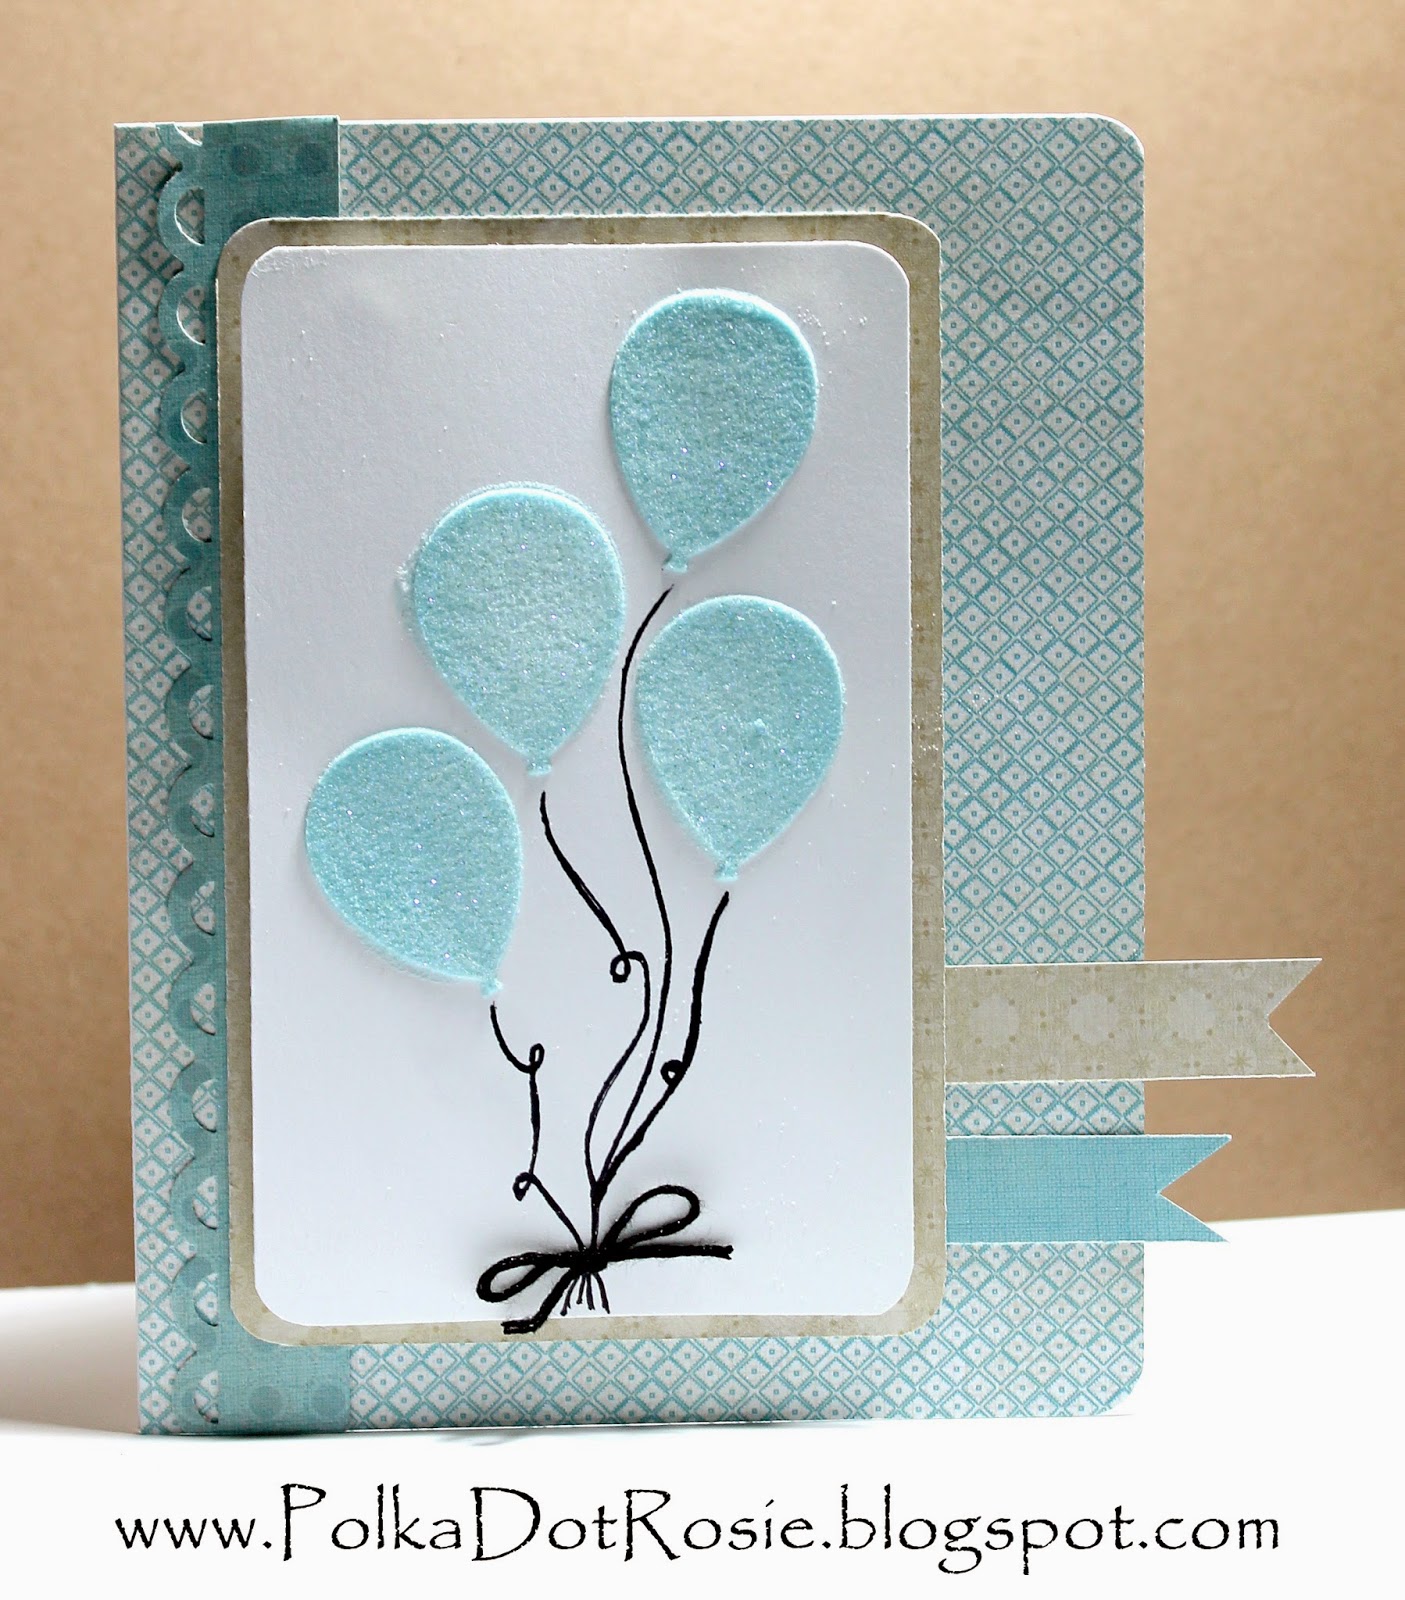
Masculine Birthday Card Using DIY Stencils--PS SPARKS Challenge

Hi there :) I didn't get to submit this card for the Paper Smooches Guest Designer Search like I had intended because some unexpected things popped up and I missed the deadline, so I decided to submit it for their SPARKS challenge instead! Since it is an "Anything Goes" challenge this week, I decided to push myself out of my comfort zone. I always struggle coming up with masculine cards, probably because I am a woman, so I decided to embrace it and challenge myself to try a new technique on a masculine card and the result is darling!  I'm so excited to give this to someone!

One of the techniques I wanted to try was making my own stencils, so I grabbed my balloon dies and went for it! I am so happy with how it turned out! I was initially going for a blue and yellow theme, but I colored the embossing paste myself and after falling in love with this shade, I decided to hold off on the yellow.


After stenciling the balloons, I sprinkled them with glitter embossing powder, then let them dry before using my heating tool.  The balloon strings were drawn on with a black Sharpie and I used black floss for the bow. I don't often make cards have a little something hanging off the side and I don't really know why. I should probably do it more often because I really like the way it looks. I walked into this card challenge with a challenge for myself and I'm really happy with the final outcome :)

Here is a list of supplies that I used:

Paper Smooches Balloon Dies
Sizzix Big Kick
Broken China Distress Ink
Dreamweaver Stencils Embossing Paste
Recollections Glitter Embossing Powder
Heat Tool
Black Fine Point Sharpie Marker
Fiskar's Apron Lace Border Punch
Sew Easy Black Floss
Pop Dots
Indie Chic "Nutmeg" 6x6 Paper Pad
We R Memory Keepers Corner Chomper

Thanks so much for stopping by! I hope you liked it :)